Developing with an iPad - Server setup, done right this time
This is part 4 of my series on developing with only an iPad. Part 1
Seems I screwed up the server setup worse than I thought - now some other commands aren’t working properly, so I really have to go back to the server setup with the lessons from breaking the first one.
It shouldn’t take too much work really - copy across a web server config file and a couple of environment variables and the rest is just cloning git repos.

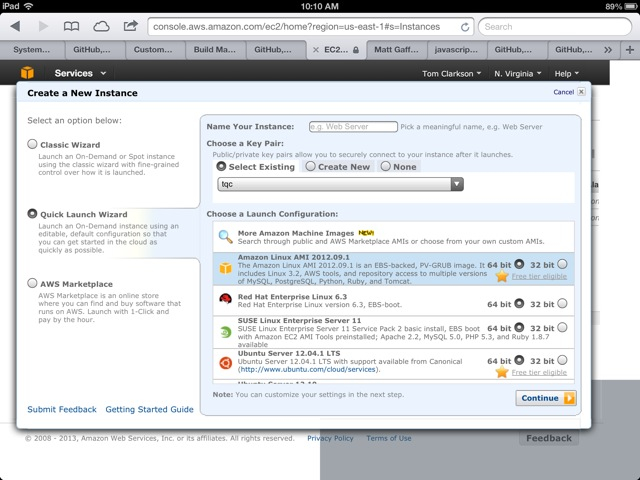
Unfortunately it turns out that the EC2 console is horribly buggy when used on an iPad, so it took over an hour just to get the instance started, but was relatively straightforward from there.
First I install the most basic requirements - git and node
sudo yum install git
wget http://nodejs.org/dist/v0.10.0/node-v0.10.0-linux-x64.tar.gz
tar -xvf node*

sudo ln -s ~/node-v0.10.0-linux-x64/bin/node /bin/node
sudo ln -s ~/node-v0.10.0-linux-x64/bin/npm /bin/npm
sudo ln -s ~/node-v0.10.0-linux-x64/bin/node-waf /bin/node-waf
I also set up nginx to proxy requests to the node js processes rather than allowing direct connections - it’s a little more config work, but means I’m not sending passwords around in clear text.
sudo yum install nginx
sudo nano /etc/nginx/conf.d/virtual.conf
cd /etc/nginx
sudo openssl req -new -x509 -nodes -out server.crt -keyout server.key
sudo chmod 600 server.key

upstream app_app1 {
    server 127.0.0.1:5000;
}

server {
    listen               443;
    ssl                  on;
    ssl_certificate      /etc/nginx/server.crt;
    ssl_certificate_key  /etc/nginx/server.key;
    location / {
       proxy_set_header X-Real-IP $remote_addr;
       proxy_set_header X-Forwarded-For  $proxy_add_x_forwarded_for;
       proxy_set_header Host $http_host;
       proxy_set_header X-NginX-Proxy true;
       proxy_pass http://app_app1;
       proxy_redirect off;
    }
}
Set up git connection
ssh-keygen -t rsa -C "label"
cat .ssh/id_rsa.pub

git config --global user.name "User Name"
git config --global user.email name@example.com
Install forever (to run node when not connected to ssh)
sudo npm install -g forever
Install heroku toolbelt for deployment
wget -qO- https://toolbelt.heroku.com/install.sh | sh
Now clone all the necessary git repos and the development server is ready.